How to Create Animated Product Videos with Claude Code and Remotion
Learn to generate professional animated product videos using AI, even without technical expertise. This guide provides a step-by-step workflow for using Claude Code with the Remotion framework to turn text prompts into dynamic video content.

Sections
Understanding the Core Tools
Before starting, it's important to understand the two main technologies that make this process possible. Claude Code is an AI assistant capable of writing and executing code based on natural language instructions. Remotion is a development framework that allows you to create videos programmatically using standard web technologies. By combining them, you can describe an animation and have the AI generate the necessary code to produce it.

Step 1: Setting Up the Development Environment
The first step is to prepare your local environment and teach Claude Code how to work with Remotion. This process requires a code editor like VS Code or Cursor and the command line.
Install the Remotion Skill for Claude Code
Open your code editor's terminal and run the following command. This command installs a 'skill' that provides Claude Code with the context and syntax for the Remotion framework, similar to giving it a specialized cheat sheet.
npx skills add remotion-dev/skillsCreate a New Video Project
Next, create a new project folder that will contain all the necessary files for your video. Run this command in your terminal:
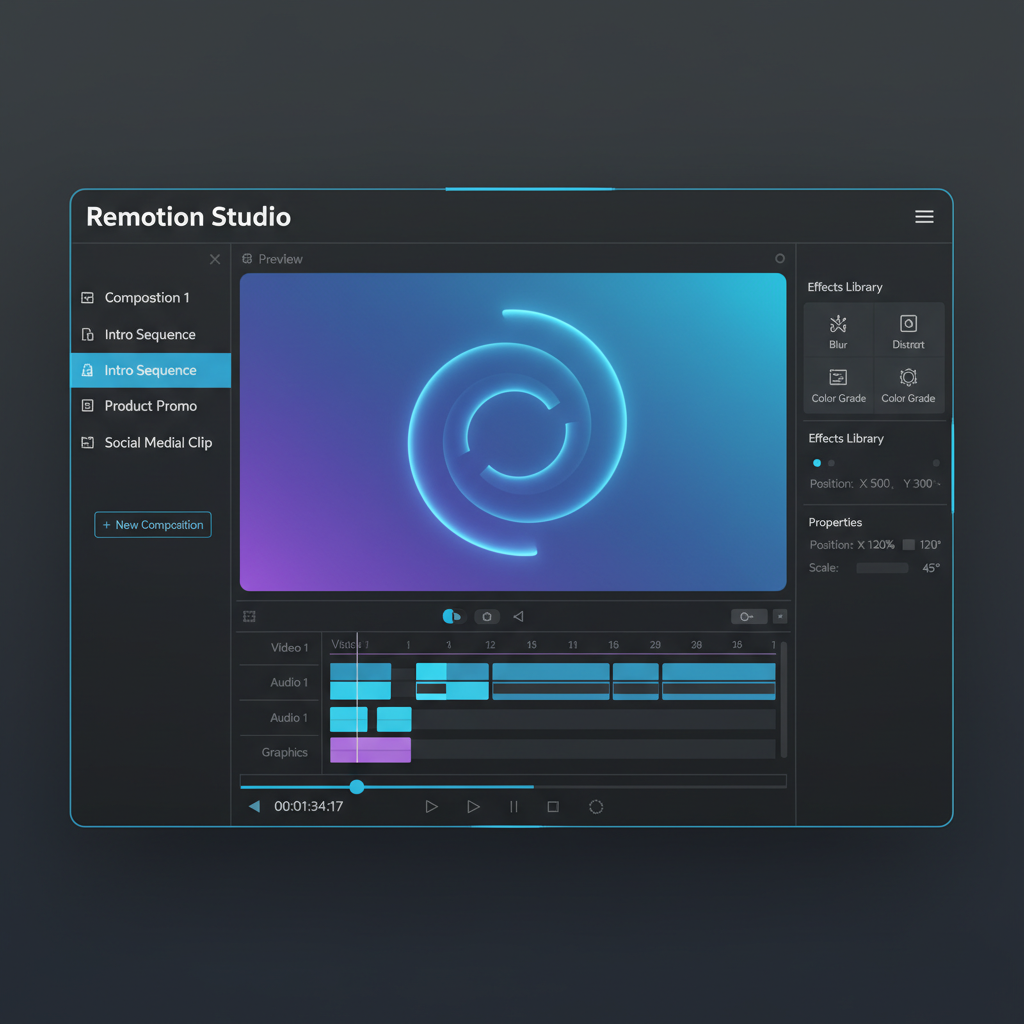
npx create-video@latestWhen prompted, select the 'Hello World' template to start with a basic structure suitable for beginners. Once the process is complete, the Remotion Studio will automatically open in your web browser, typically at localhost:3001. This is where you can preview your animations in real-time.
Clean Up Configuration Files
To avoid confusing the AI with conflicting instructions, navigate to your new project folder. You may see several configuration files for different AI tools (e.g., Cursor, Gemini). Delete all of them except for agent.claude.md. This ensures Claude Code is the sole instruction set being used.
Step 2: Generating Animation Ideas from Your Product
Once the setup is complete, you can instruct Claude Code to analyze your product and suggest components that would be suitable for animation. This helps ground the creative process in your existing assets.
Analyzing Local Project Files
If you have your website or application's source code locally, you can point Claude directly to it. Use a prompt that asks it to identify good candidates for animation.
"Look at /src/pages/index.tsx. What components would work as animated videos?"Analyzing a Live Website
Alternatively, you can have the AI analyze your live website for inspiration. This is useful for identifying key sections or features that would make compelling promotional clips.
"Go to myproduct.com. What sections would make good promos?"Step 3: Prompting Your Animation with Detailed Instructions
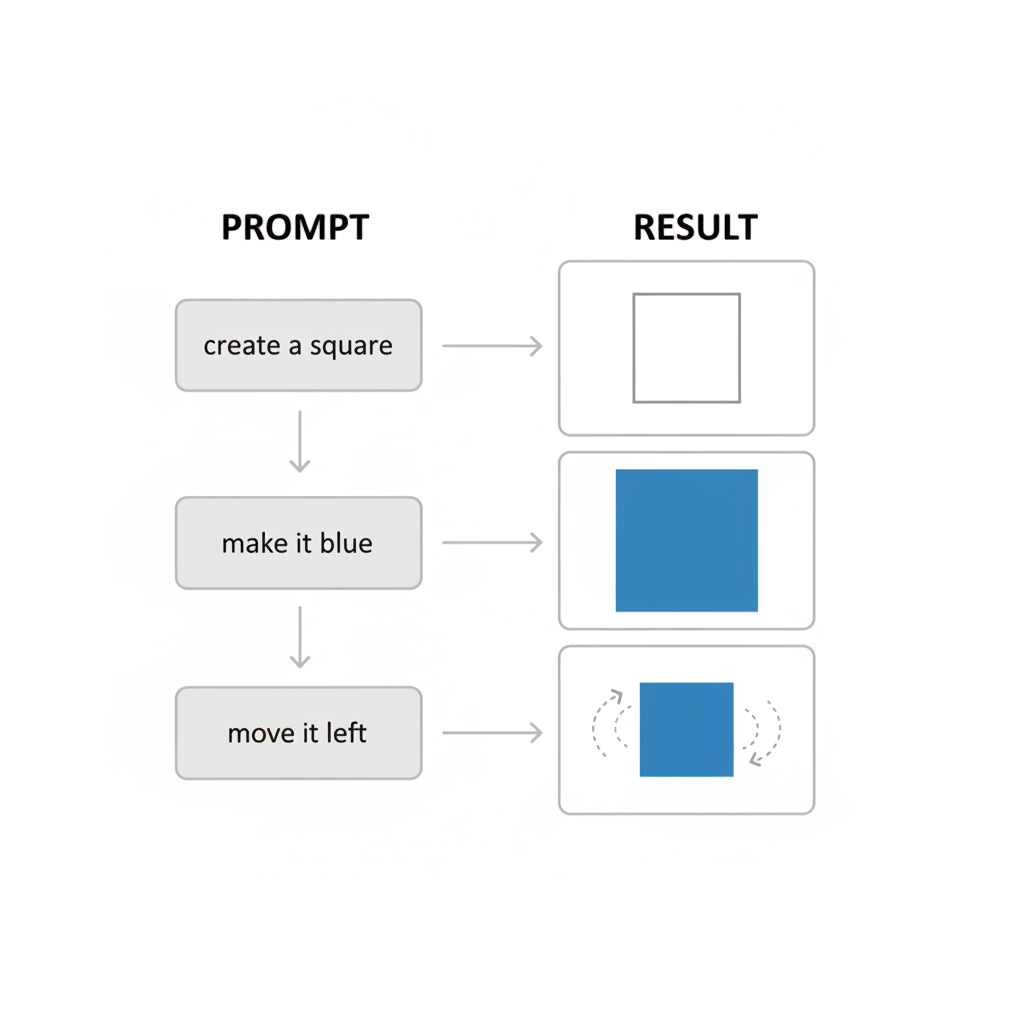
With a concept in mind, the next phase involves an iterative conversation with Claude Code to build the animation scene by scene. It's best to provide one instruction at a time, review the result, and then provide the next instruction.
An Iterative Prompting Workflow Example
The following sequence demonstrates how to build a complex animation through simple, incremental steps:
- Start with a basic object: "Create a macOS terminal window, 1280x1000px, with a light theme and a blinking cursor."
- Refine the appearance: "Remove the background and make the font bigger. Add a margin but keep the background transparent."
- Add a typing animation: "Create a typewriter animation that types 'npx skills add remotion-dev/skills'. The cursor should blink when idle."
- Introduce 3D effects: "Apply a 3D rotation of 10 degrees on the X and Y axes."
- Add continuous movement: "Animate the Y-axis rotation from 10 to -10 degrees over the entire video length."
- Create an entrance animation: "Make the terminal slide in from the bottom using a spring animation with no bounce."
- Execute a live command: "Run the command 'npx skills install remotion-dev/skills' and add the actual terminal output to the animation. Stagger the appearance of each line of the output by 50ms."
- Design an exit transition: "When the animation is done, flip the terminal toward the camera by rotating it on the X-axis. Set the transform origin to the bottom edge."
- Add branding: "Create a new composition showing the Remotion logo, a plus sign, and the Claude Code logo."
Step 4: Rendering and Exporting Your Final Video
When you are satisfied with the real-time preview in Remotion Studio, you can render the animation into a standard video file. Run the following command in your terminal, replacing 'MyComposition' with the name of your composition as shown in the Remotion Studio sidebar.
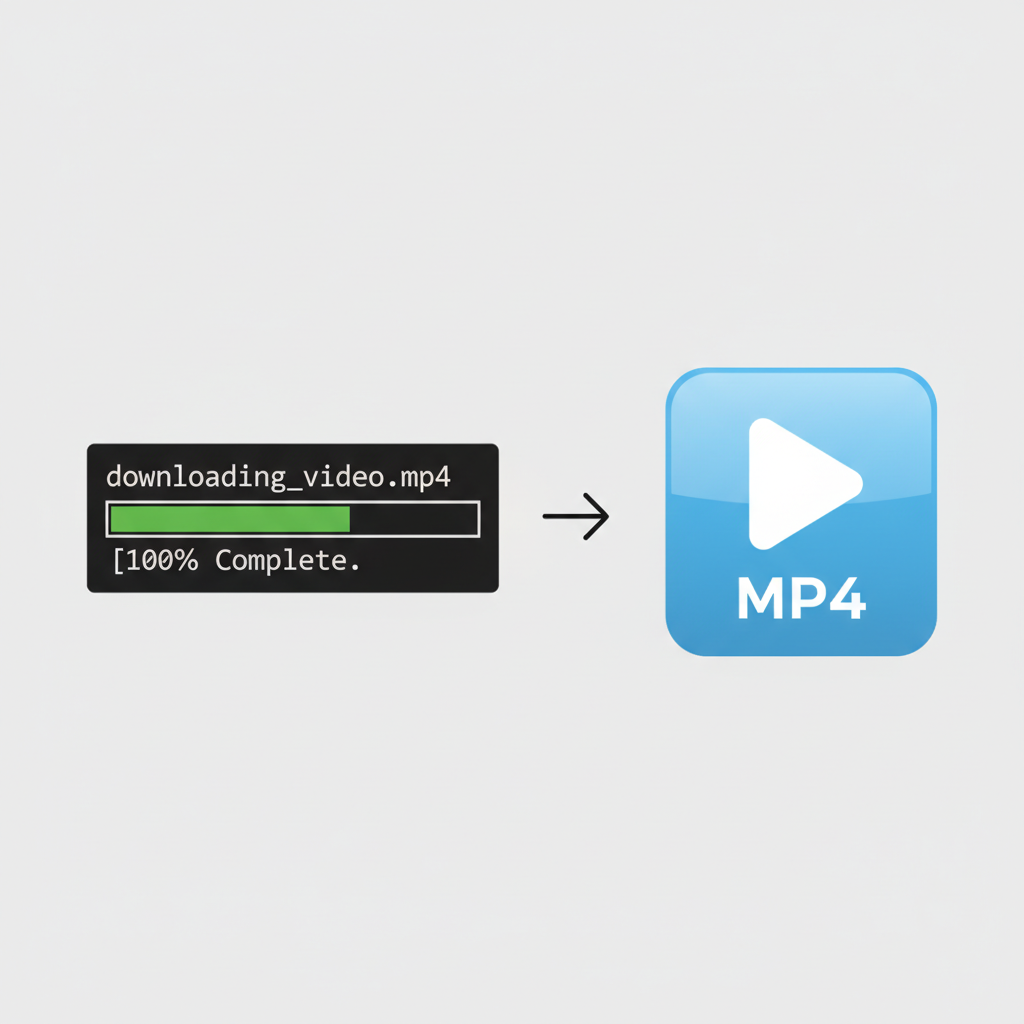
npx remotion render MyComposition --output promo.mp4This command will generate an MP4 file named promo.mp4 in your project folder, which can be uploaded to social media platforms, websites, or used in marketing campaigns.
Best Practices and Common Pitfalls
Understanding the strengths and weaknesses of this AI-driven workflow is key to achieving good results efficiently.
What Works Best for AI Animation
AI-powered animation excels with structured and predictable content. This includes elements like terminal windows typing commands, screenshots transitioning between states, text appearing character by character, and numbers counting up. Anything with clean edges and defined movement is a strong candidate for this method.
Where the Process Can Falter
This approach is less effective for complex, organic animations such as character movements or fluid shapes that require frame-by-frame artistic control. Additionally, avoid giving too many instructions in a single prompt. Describing multiple changes at once can confuse the AI, leading to misplaced or incorrect elements. Work incrementally: one instruction, one review, then the next instruction.
Related Tools
Frequently Asked Questions
Do I need to know how to code to create videos this way?
No, this guide is designed for non-technical users. The process relies on writing natural language prompts to have the AI generate the necessary code for you. Basic familiarity with using a command line is helpful but not essential.
What is Remotion and why is it used with Claude Code?
Remotion is a framework that lets you create videos using web technologies like React. It's used here because it provides a structured, code-based way to define animations, which an AI like Claude Code can easily generate and manipulate based on your instructions.
Can Claude Code create any type of animation I describe?
While powerful, it has limitations. It works best for structured animations with clean lines and predictable movements, like UI elements, text effects, and simple 3D transforms. It struggles with organic or character-based animation that requires artistic finesse.
How long does it take to create a simple animated video?
A basic animation, following the steps in this guide, can be created in as little as 15-30 minutes. Each prompt iteration can take a few minutes for the AI to process and generate the code, so more complex videos will require more time.
What can I do with the final MP4 video file?
The exported MP4 file is a standard video format. You can upload it to any platform that supports video, including social media sites like X (Twitter), LinkedIn, and Instagram, or embed it on your website and landing pages.
Key Terms
- Claude Code
- An AI-powered coding assistant that can interpret natural language prompts to write, edit, and execute code within an integrated development environment (IDE).
- Remotion
- A framework based on the React library for creating videos and motion graphics programmatically. It allows developers to define animations using code and preview them in a browser.
- IDE (Integrated Development Environment)
- A software application that provides comprehensive tools for software development, typically including a source code editor, build automation tools, and a debugger. VS Code and Cursor are examples.
- npx
- A command-line tool that comes with Node Package Manager (npm). It is used to execute Node.js packages from the command line without having to install them globally.
- Composition
- In Remotion, a Composition is the main component that represents a complete video or a distinct scene within a larger video project. Each composition has its own dimensions, duration, and frame rate.
- Spring Animation
- A type of physics-based animation that simulates the movement of a spring. It is often used to create natural-looking motion with effects like bouncing and overshooting.